Installation of Oracle9i Client on the Microsoft Windows platform
Requirements
- 500 MB free hard disk space
Source Media
- From CD-ROM
- insert CD
- if the CD does not autoplay, open setup.exe from the CD
- From zip file
- unzip all files to a temporary directory
- open setup.exe
Installation
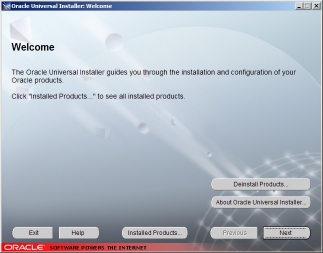
- Welcome screen
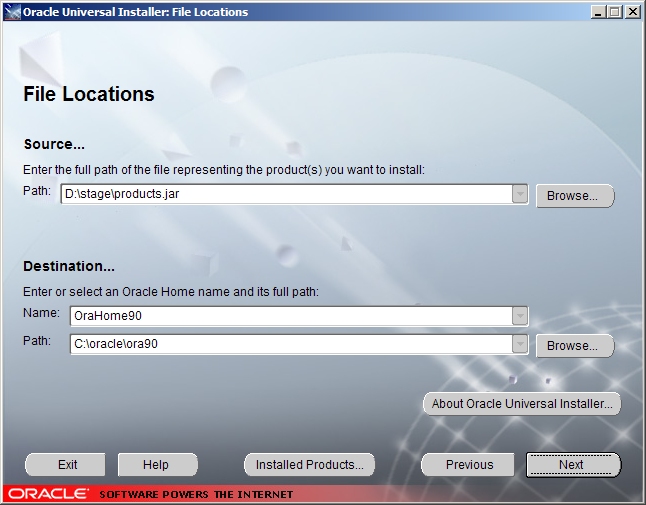
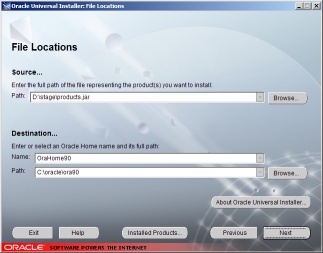
- Installation directory selection
- If you are unsure, the defaults are acceptable.
- The directory must be accessible from DOS: no spaces, 8 characters or less.
- Click "Next".
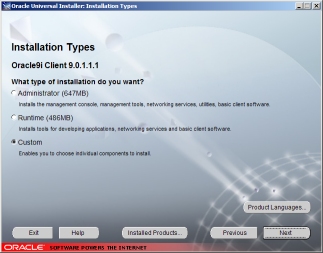
- Installation type
- Choose "Custom", or client only to save time.
- To save time and disk space, you may select "Runtime" and skip to step 6, but you will not have some advanced features such as SQL*Plus Worksheet.
- Click "Next".
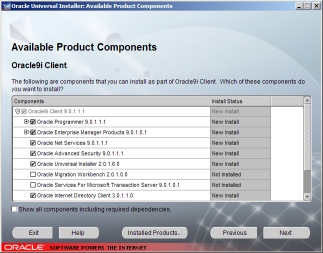
- Component selection
- Select all components
- Click "Next".
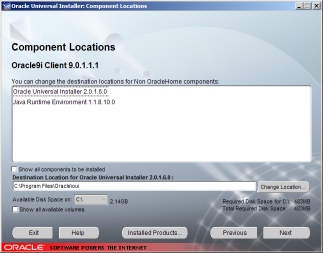
- Component installation directories
- Check that the available disk space is larger than the required disk space. If not, you must install to a different drive letter.
- Click "Next".
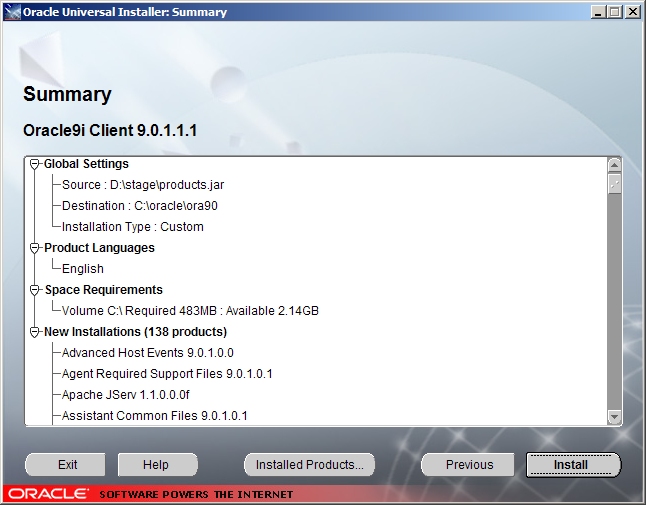
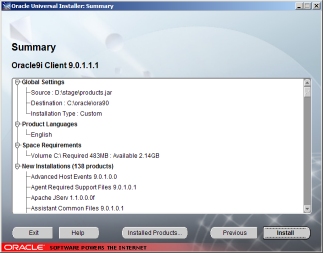
- Installation summary
- Review the space requirements and products to install
- Click "Install".
- Actual Installation
- The installer will copy files and update system settings.
- This will take a long time, depending on the speed of your computer.
- Once it has finished, click "Next" if it does not move on automatically.

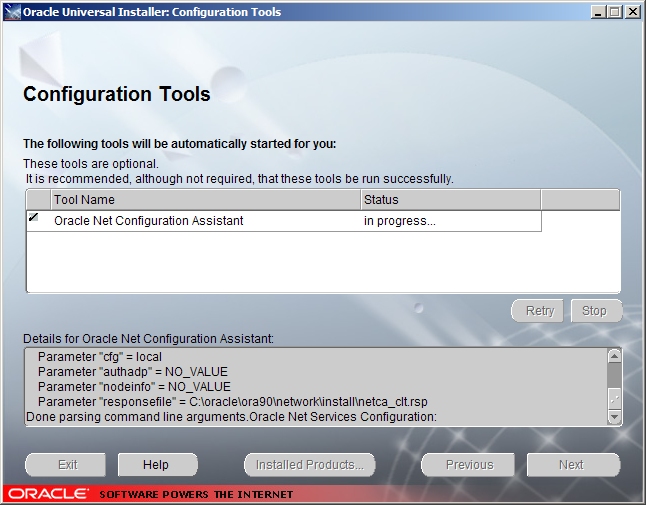
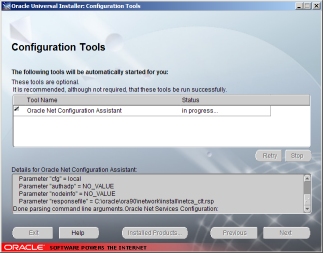
- Configuration Tools
- The installer will run the configuration tools listed
- Each tool will pop up in its own window
- If you made the same selections as this tutorial, the only tool is "Oracle Net Configuration Assistant".
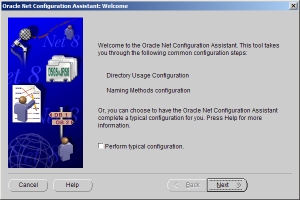
- Net Configuration Assistant
- This utility will configure your connection settings.
- Click "Next".
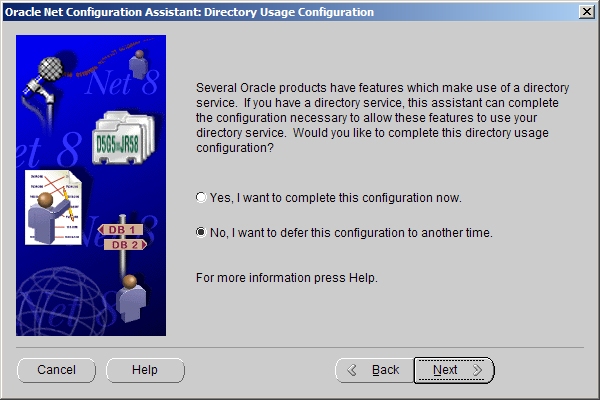
- Directory Service
- Select "No".
- We do not have a directory service at this time.
- Click "Next".

- Naming Method Configuration
- The default setting (Local only) is acceptable.
- Click "Next".

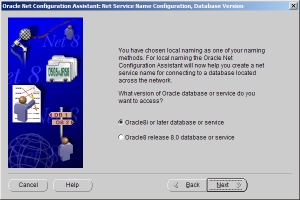
- Database Version
- Select "Oracle8i or later".
- Click "Next".
- Service Name
- Enter "
cs333.csoracle" as the service name.
- Click "Next".

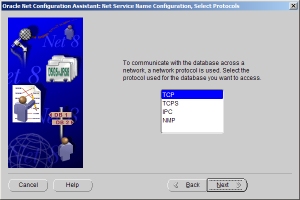
- Protocol
- Select "TCP" as the network protocol.
- Click "Next".
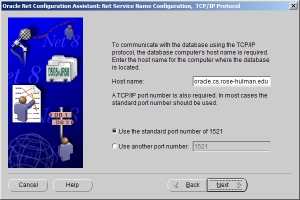
- TCP/IP Configuration
- Enter the hostname "
dfoexmann.cs.rose-hulman.edu"
- Use port 1521.
- Click "Next".
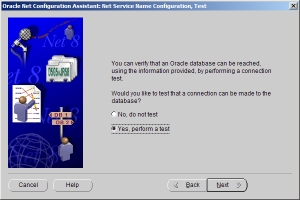
- Connection Test
- Choose "Yes" to test the database connection.
- This will attempt a simple login.
- If the test fails, you will need to reconfigure after installation.
- After installation and reboot, copy
tnsnames.ora to ORAHOME\network\admin\, where ORAHOME is your Oracle home directory and defaults to c:\oracle\ora90
- Click "Next" to finish installation.
- Click "Next".
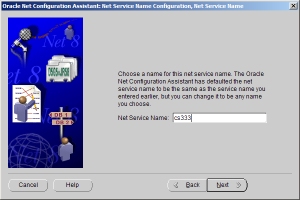
- Net Service Name
- Enter the name which you will refer to this connection by.
- You will use this along with your username and password to log in.
- "
cs333" is a good idea, and will be assumed by this tutorial
- Click "Next".
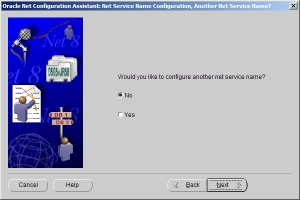
- Completion
- Choose "No" to complete configuration.
- Click "Next", then "Next", then "Finish".
- End of Installation
- If you are running Windows 98, you will need to reboot
- because environment variables must be updated
- If you are running Windows 2000/XP, the installation is complete.
- Click "Exit".

Security Configuration
- Under the Configuration tools in the start menu, open Net Manager.
- Expand "Local" and select "Profile".
- Change the drop-down list to "Advanced Security".
- Under the Integrity tab, Select CLIENT integrity:
- Choose requested for checksum level.
- Choose first SHA1, then MD5 by moving them to the right box.
- Under the Encryption tab, Select CLIENT encryption:
- Choose required for encryption type.
- Type between 10 and 70 (preferably near 70) random characters for your encryption seed.
- Choose first AES256, then RC4_256 by moving them to the right box.
- Under the File menu, choose "Save Network Configuration".
- Close Net Manager
You have now completed installation of Oracle9i client. Click here to return to the list of documentation.
Related documentation