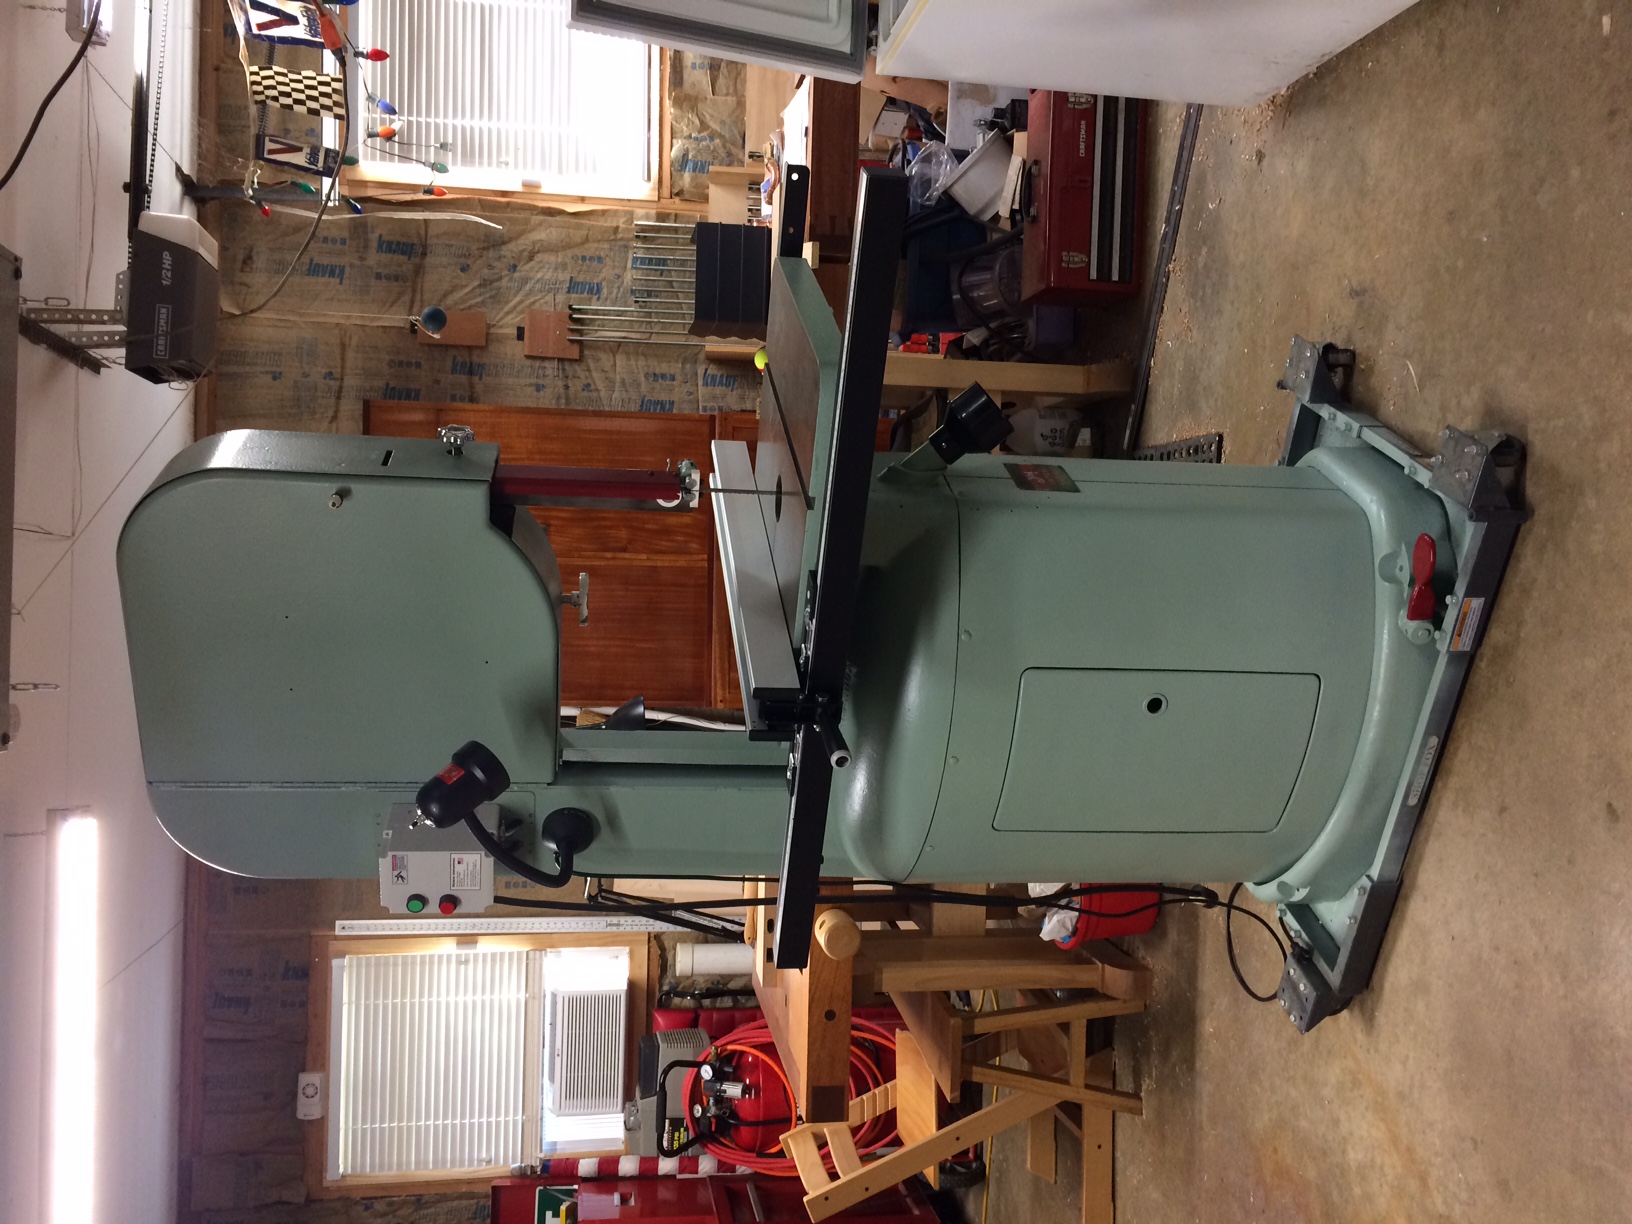
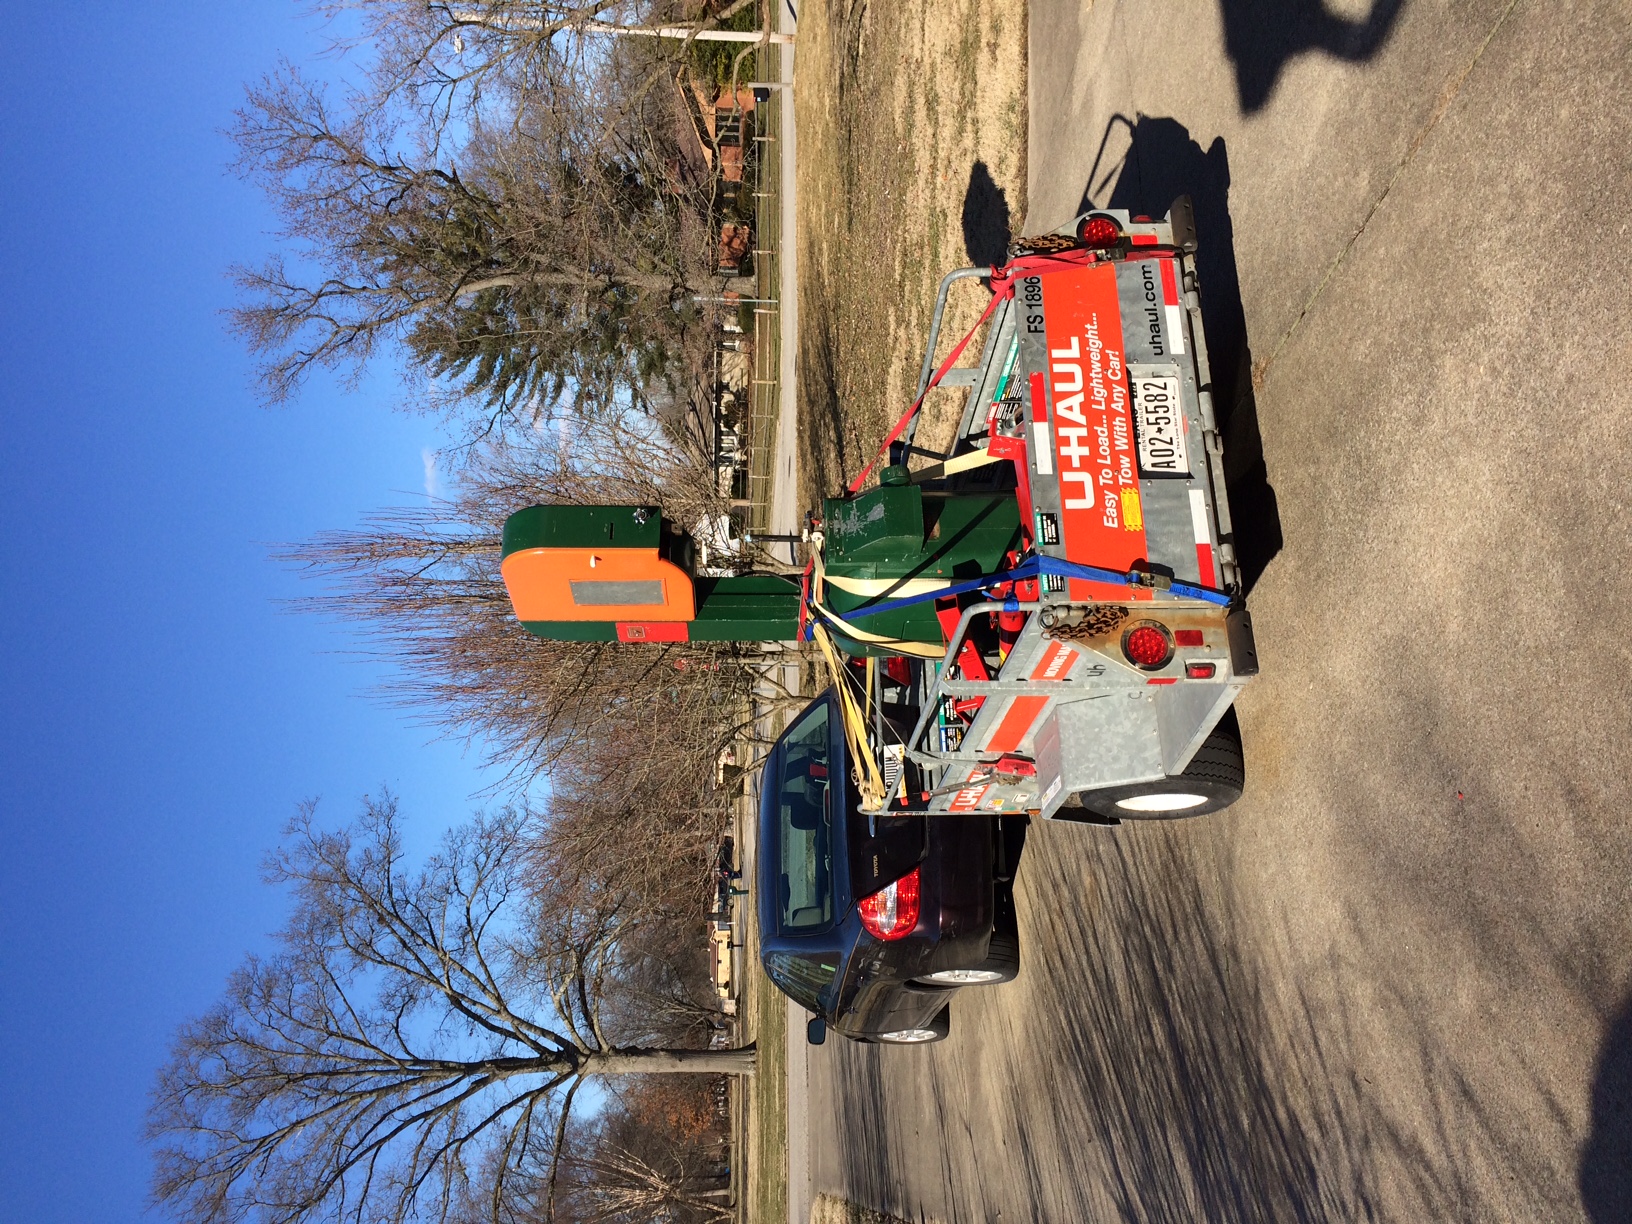
This is a good ol' American iron bandsaw, a 20" inch Yates American J-120. It has a 24"x24" table and as far as I can tell, came out of a school's woodshop. The prior owner(s) already performed a couple of upgrades: they installed polyurethane tires, ceramic blade guides, a new motor, and link belt pulley. With the saw also came a set of very nice blades (Timberwolf and Wood Slicer.) Here is a photo of the saw on the day I picked it up.
I intend for this saw to be the centerpiece of my (power) shop, to replace my table saw and 14" bandsaw. The upgrades are focused on improving the saw, including its safety.
Motor and power transmission.
While a prior owner installed a new motor, it was not enclosed and as such was potentially dangerous, as sparks might ignite the saw dust, additionally, the saw dust will eventually ruin the motor. I replaced the motor with a 2hp 230 Volt TEFC Leeson motor and sold the old one.
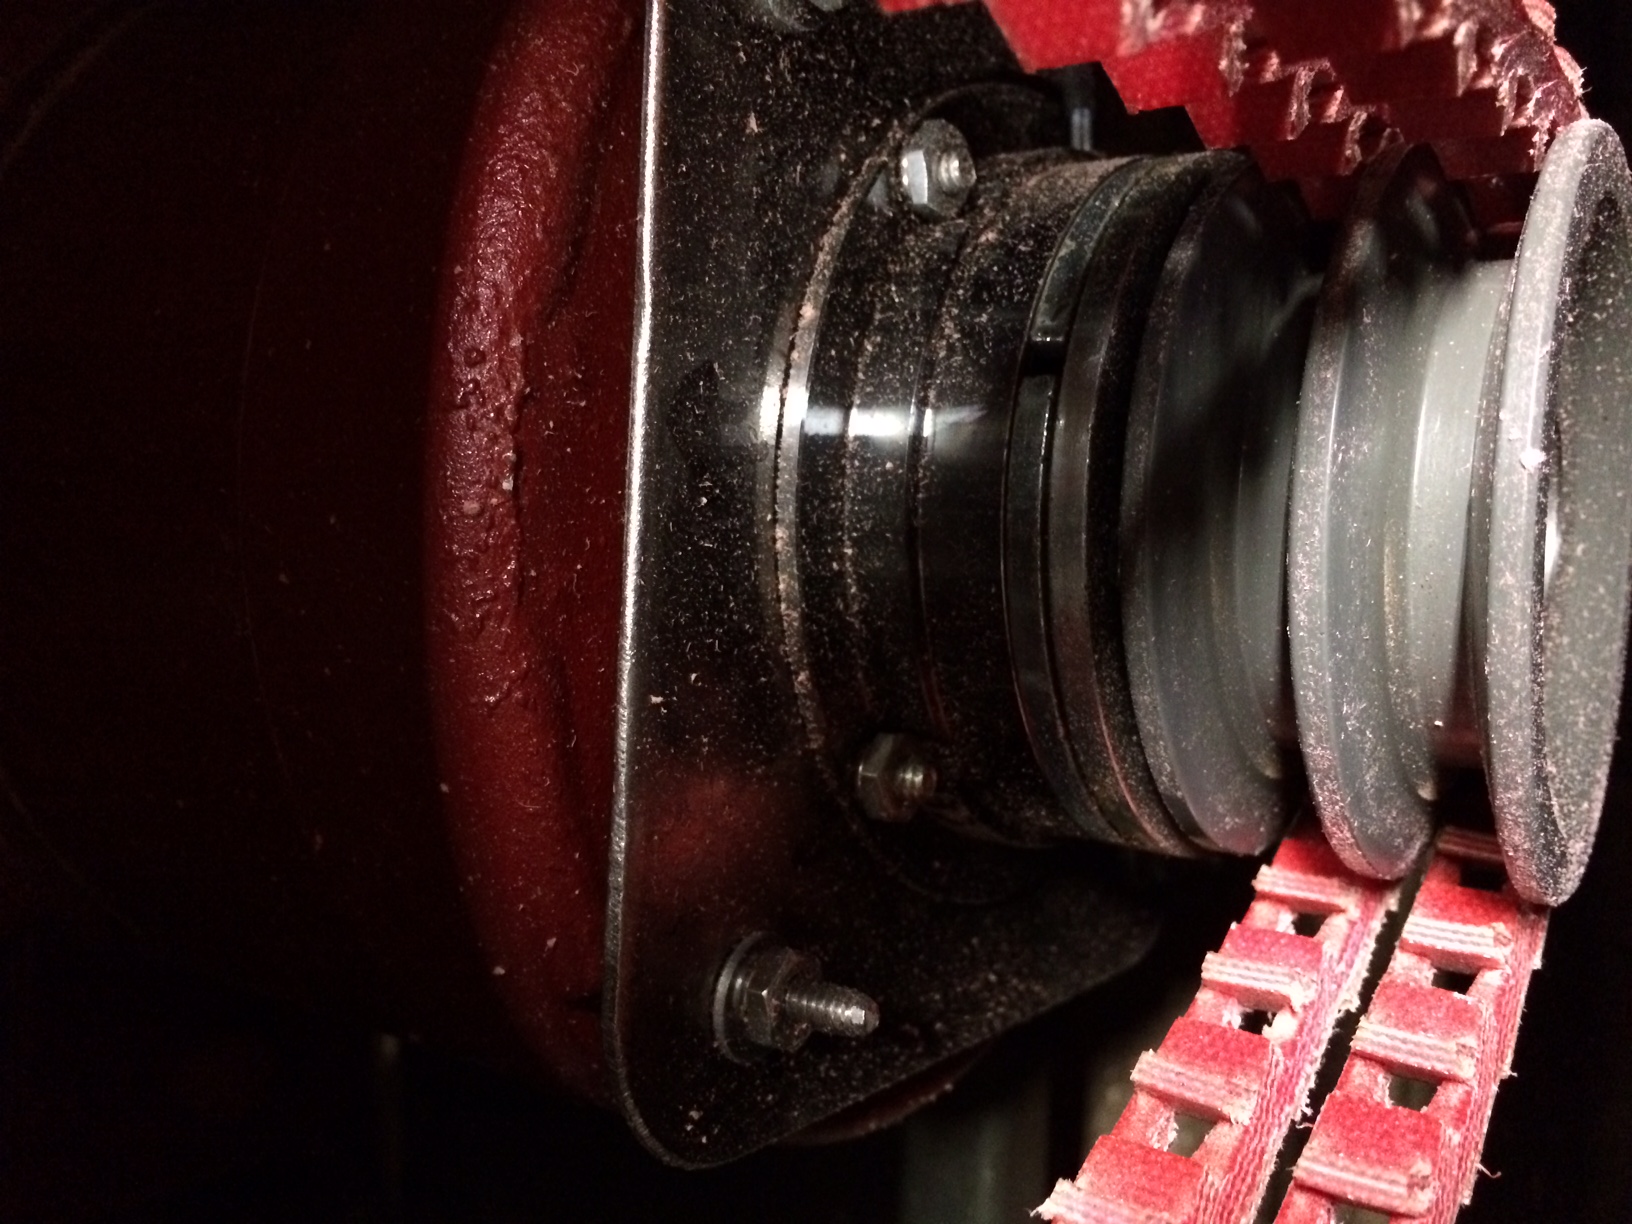
I noticed that the drive belt had worn shoulders. Given the fairly powerful motor, I decided to replace the existing pulley with a double groove cast iron pulley and sold the old one. The saw was designed for two pulleys, as such, I brought it within specs. I installed two new Fenner link belts.
Safety.
The existing foot brake was badly worn and not very effective. I want the foot brake to act as an emergency brake. While I was debating about keeping the original brake by asking a machine shop to redo the brake rotor, I ended up modernizing the saw by making three improvements:
The combination of these improvements stops the saw in 3 seconds. While not a fraction of a second, it is one par with Metabo's angle grinder brakes. This is a work in progress. I orginally fitted a bicycle disc brake that was activated by pressing the existing foot brake lever. However, it was not very effective. While it did stop the saw faster than letting it come to a complete stop by itself, it still took a long time. I eventually adjusted the brake to improve the stopping time, yet, the improvement was marginal and the adjustment placed a strain on the motor. I installed the electric brake mentioned above because I did not know much about electric brakes and this one happened to be available on eBay at a reasonable price. I will eventually install a larger electric brake, this one is only 3 inches in diameter. Certainly one that is twice as large will act much more as an emergency brake. To activate the electric brake I also had to purchase a 24VDC transformer. I wired it to the normally off portion of the deadman switch and ensured that power runs to it directly, i.e. it bypasses the on/off switch of the saw.
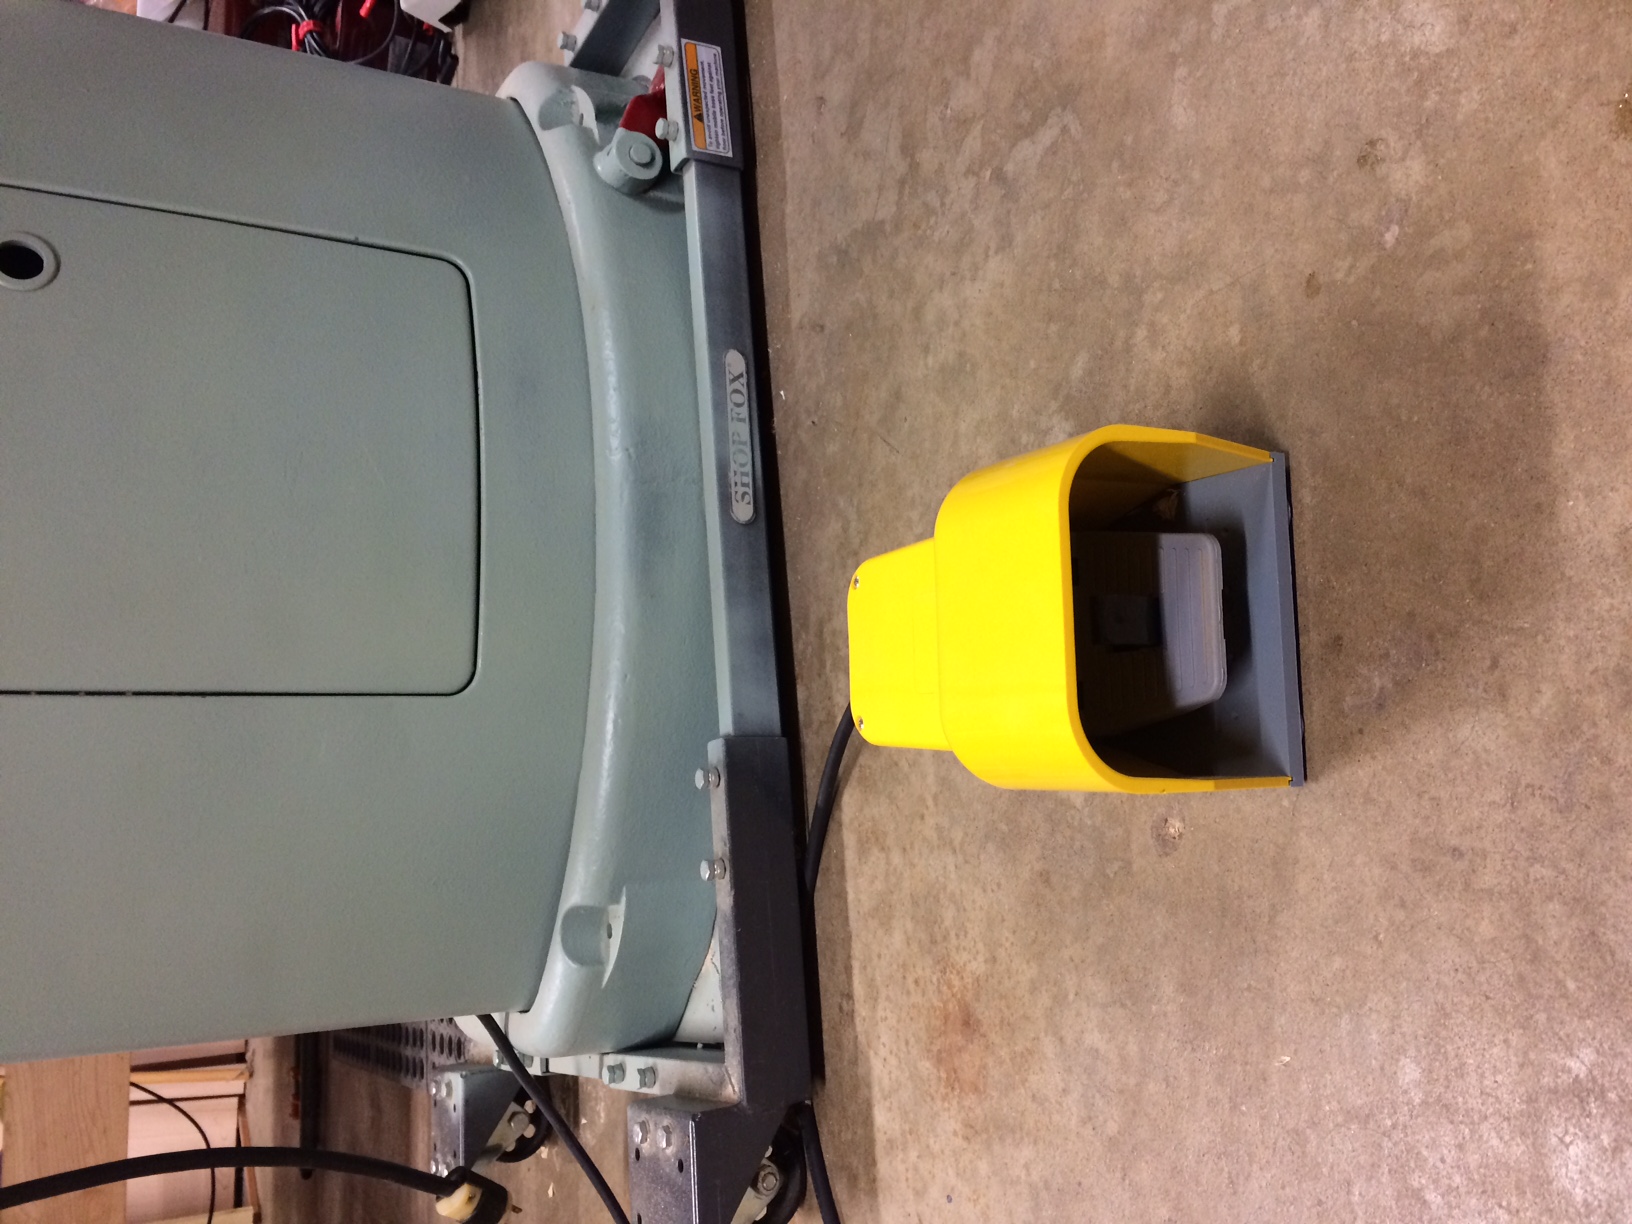
- I replaced the regular on-off switch with an Elimia magnetic motor starter (DOL 9-13-230LCS). It is made in “Sweet Home Alabama.”
- This enabled me to install a dead man switch from Automation Direct in line with the off switch. The deadman switch cuts the power to the motor and
- activates a Warner PBM VAR02 electric brake. I had to manufacture a bracket to which to attach the brake. I made it from 1/8 inch sheet metal and attached it to the motor by replacing the four long bolts that hold the motor together by steel rods which I threaded at both ends. I also had to increase the bore of the brake to 7/8 inch. This was done by the friendly folks at the Vigo Machine Shop
The rationale for the deadman switch and the electric brake is that when something goes wrong, the flight response is such that one would retract one's hands and lift one's foot. This is a significant improvement over having to take a fight approach by approaching the saw to flip the power switch and to depress the foot brake. This is not something one would do when the blade went off the tires to create sparks and unpleasant noises.
Adjustments.
I learned a few things about bandsaws while working on this project:
- They don't work well in reverse.
- If there is an adjustment that can be made, it needs to be made, even those for which the manual states that the adjustment was made at the factory and should not have to be made in the field. The benefit of this Yates-American J-120 is that everything important can be adjusted.
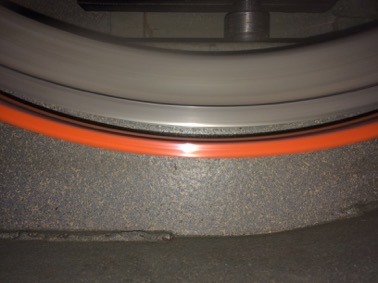
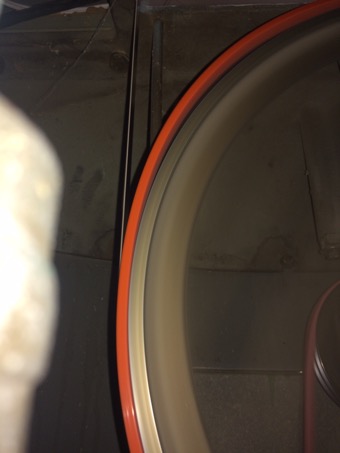
To begin, the tires were too loose, to the extend that the upper tire lifted by about 3/16 inch from the wheel. Notice that exact measurements are not recommended on a running saw! The lower tire lifted by about 1/4 of an inch from the wheel. The kind folks at Sulphur Grove Tools resized the tires at no charge any they fit perfectly now - no more lifting. It was a bit of a booger to mount the tires. Mounting them onto the wheel is similar to how you mount a tire to a bicycle rim: leverage and taking it easy. You don't want to overstretch the tire. There are a few other things you need to do. Likely, after the installation of a very tight tire, there will be runout. I measured 24/1000 runout. I fixed this by threading a small steel rod between the tire and the wheel and moving the rod around the wheel a couple of times. This reduced the runout to 9/1000. The blade still moved a bit. I was going to sand the tires, but first ran the saw with a 3/4 inch blade for several minutes. That seemed to have done the trick. I did not measure the runout again, however, the blade does not have a perceptible side to side movement any longer.
I removed the bottom yoke that holds the bottom wheel. I took apart the spindle, greased everything and put it back together. Similarly, I removed the top wheel adjustment mechanism, took it apart, greased it and put it back together. In the process of taking it apart, I noticed that the wheel bearings were badly worn. In particular, the rear bearing spun to a degree that a wear sleeve was not sufficienly large to take up the slop. I ended up manufacturing my own wear sleeve from a strip of aluminum and replaced both top bearings. Once put together, I had to move the top wheel forward a bit. I also had to adjust the top wheel adjustment screw so that the top wheel was in the same plane as the bottom wheel. This was a non-trivial exercise given the design of the saw.
In this context, I also moved the top wheel towards the guide bar and I adjusted the guide bar to be perpendicular to the table top in both axes. The table top adjustment is another story. In order to ensure I could adjust the fence (see below) to be parallel to the blade and as such avoid drift one way or other, I had to drill out the bolt holes in the quadrants which hold the table top so as to be able to adjust the table in the desired manner.
The saw came in several colors (and some hand prints from some prior owners.) I repainted it in Rust-oleum Sage color. It is a bit lighter than the original color, but the closest color Menards had available.
Fence and other improvements.
I installed a solid fence, a Delta T3 table saw fence. It is designed for a table saw, as such, I shortened the rails a bit. I also had to move the rear vinyl glide block on the fence. I have about 19.5" on the left side. I will do all the heavy lifting in that side, among others because the left side is supported by a mechanical 0-degree stop. I am not sure I even need the right side. If after using it for a while, the right side proves too long or ends up in the way, I will shorten it some more. The fence looks well built, the only issue I have with it is the tape measure. It is printed on the fence bar and the ink is rather smudgey. I removed it with acetone and installed a Starrett stick-on tape measure.
While I was at it, I removed the old dust chute, manufactured a new one and riveted a 2-1/4" to 4" fitting that fits my dust collector.
The tapered table top alignment pin got lost in the shuffle. I found one at McMaster-Carr that while not an exact fit, works for me.
Resources.
Here are a few resources that I found useful while adjusting the saw:
- The following blog entry entitled How to tune your bandsaw
- Lonnie Bird's The Bandsaw Book
- A Fine Woodworking video by Michael Fortune on squaring up the table to fix any drift.