Here is a (purposefully incomplete) specification of this project:
|

You will do this using pair programming. Remember that:
GoalsThis exercise will let you:
|
Grading rubricYou start with 100 points. For each stage that is missing or implemented incorrectly, you lose 10 points.
Because this is an exploratory exercise, no documentation is required.
|
You will implement this project in stages, testing at each stage to see if the project works correctly through that stage.
|
Here is a (purposefully incomplete) specification of this project:
|

|
||
|
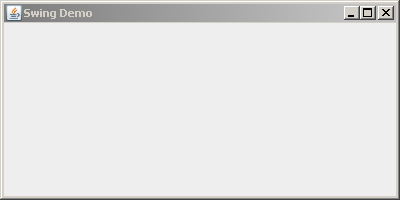
At the end of this stage, your project should display a tiny JFrame that looks like this:

|
|
Test your understanding: Answer these questions (and all the “Test your understanding” questions you encounter in this exercise) aloud with your partner, but be quick to discuss them with your instructor, a student assistant or a classmate if you are unsure of your answer.
|
|
 |
|
Test your understanding:
|
|
So now you have a JFrame. Rather than adding all our components directly onto the JFrame, we will:
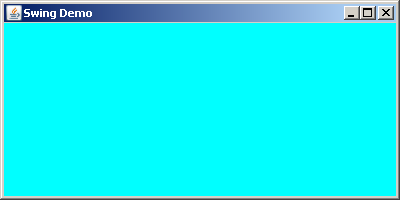
So let's add a JPanel to your JFrame. To get a component to appear, you need to construct it, then add it to the component on which it is to appear. So:
|
 |
|
Test your understanding:
|
|
As we just saw, to get a component to appear, you need to construct it, then add it to the component on which it is to appear. So:
|
 |
|
Test your understanding:
|
|
|
|
Test your understanding:
|
|
 |
|
Test your understanding:
|
|
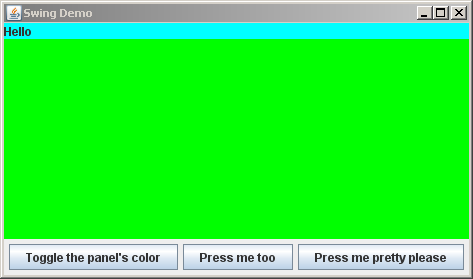
This stage is an example of event-driven programming — the operating system generates events (button presses, mouse clicks, timer alarm rings, etc) which your code handles. A JButton responds to button-presses through a 3-step process:
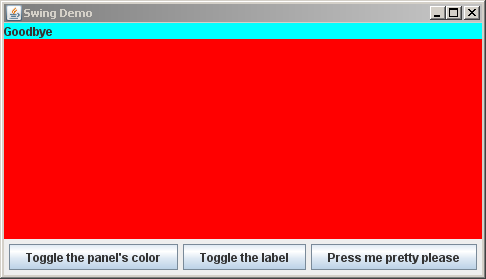
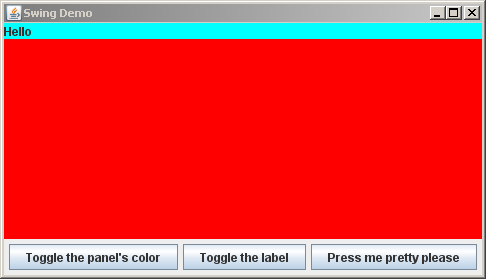
Your SwingDemo2 project came with an example of a JButton that responds to button-presses. The example also demonstrates responding to mouse-clicks, which are similar. Here is the button example. Keep it in mind as you proceed as follows:
You will probably have questions in doing the above; ask away (instructor, student assistants or classmates) — it's OK! |
  |
|
Test your understanding:
|
|
|
|
Test your understanding:
|
|
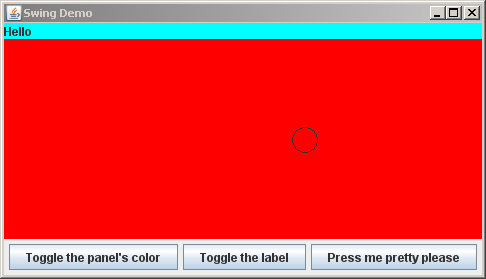
This stage will review what you learned in Swing Demo, Part 1 about painting (drawing) on a JComponent. You paint on a JComponent (or, as here, on a JPanel) by overriding its paintComponent method. Proceed as follows:
|
 |
|
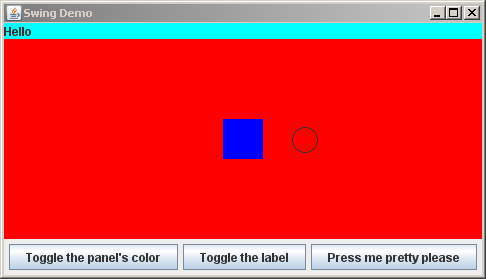 |
|
Test your understanding:
|
|
In this stage, you will implement a crude form of animation — repeatedly pressing the third button moves the circle.
|
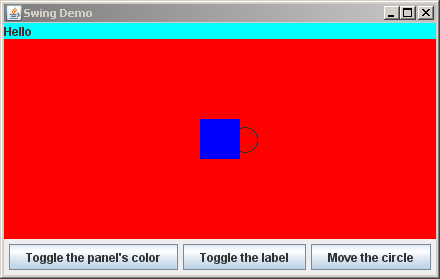
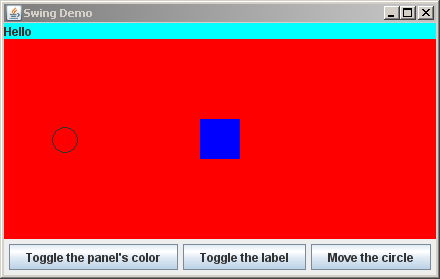
|
|
Test your understanding:
|
|
This stage is another example of event-driven programming — the operating system generates events (button presses, mouse clicks, timer alarm rings, etc) which your code handles. A JComponent (e.g. a JPanel as here) responds to mouse events (clicks, presses and releases, enter and exit a window) through a 3-step process:
Your SwingDemo2 project came with an example of a JButton that responds to button-presses. The example also demonstrates responding to mouse-clicks, which are similar. Here is the button example and the mouse example. Keep them (especially the mouse example) in mind as you proceed as follows:
|
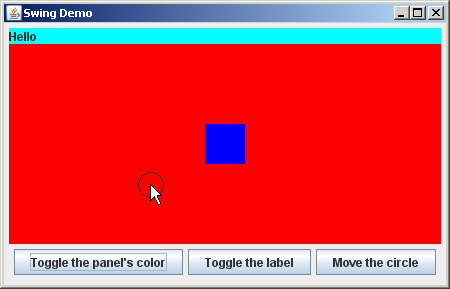
|
|
Test your understanding:
|
|
You have seen two ways to display data on the screen:
Two other ways to display data on the screen are:
|


|
|
Test your understanding:
|
|
You have seen that you can get input from the user via button-presses and mouse clicks. Two other ways to get input from the user are:
|

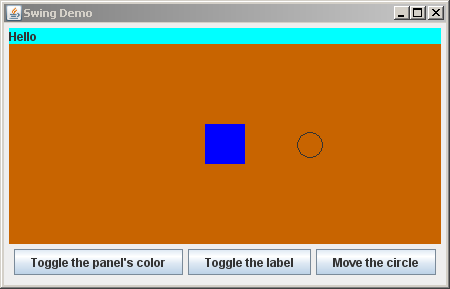

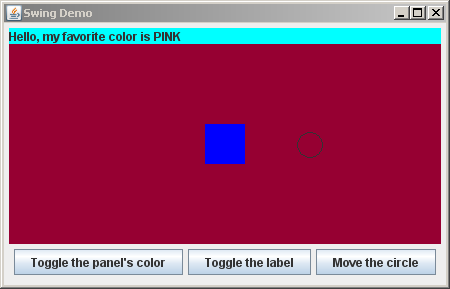
|
|
Test your understanding:
|
|

|
|
An Applet is a Java program that is meant to be displayed in a browser's window. As you will see, it is VERY easy to make an Application (which you have written) into an Applet.
|

|
In your forthcoming projects you will want to learn more about Swing. The following tutorials from the Java Tutorials are excellent:
|
Test your understanding: You should now be comfortable with the following:
If you have questions about ANY of the above, bring your questions to class! |
Commit your project to your individual repository when you are done.
Because this is an exploratory exercise, no documentation is required.
BOTH partners must understand the entire project. Alert your instructor if that is not the case for your partnership.