Prelab 1: Preliminaries for the first lab
In this lab, you're going to set up the environment you will use for the rest of 132. Before you come to lab, it's important you start on a few things:
- Download and install Git, along with the SSH tool Git Bash.
- Install WSL2
You should have at least 15 GB of available disk space for this lab (to hold the Linux Subsystem.)
Throughout this entire lab (and this course), this web site assumes you are using the RHIT-supplied image of Windows, though it is possible to do most steps on other systems.
Get Git
Git is the most popular version-control software, a "free and open source distributed version control system designed to handle everything from small to very large projects with speed and efficiency."
You likely already have Git installed. To check, click the windows button and type "git". If you see "Git Bash" show up, you have Git installed, so you can skip to the next step. Otherwise:
- Download Git for your computer from the Git SCM website. (You will probably want to click on "Windows" to get the one for your laptop.)
- Run the installer and follow the instructions. Choose the default settings.
Test an SSH Client
In this lab you will be connecting to other computers using a protocol called SSH. To do this, you need an SSH client. One such client is OpenSSH which is provided through the Git Bash shell on Windows (also native on Linux and Mac).
Open your SSH client, and connect to the following server with the given username and password.
 server:     bandit.labs.overthewire.org
 port:       2220
 login name: bandit0
 password:   bandit0
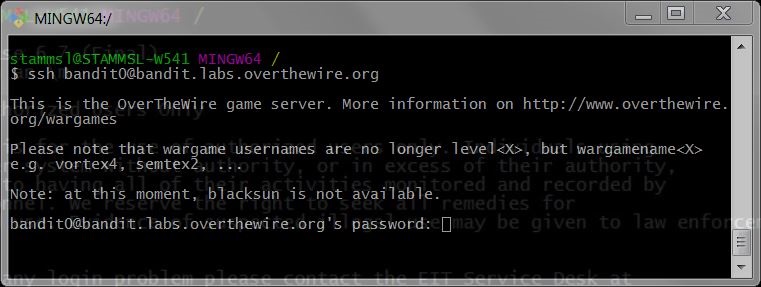
This can be done with the following command in Git Bash:
ssh bandit0@bandit.labs.overthewire.org -p 2220
You should see something like the following.

Enter the password (note: it will not display as you type it). You've connected to the server if you see a prompt like
bandit0@bandit:~$
You can log out of a server by hitting CTRL-D, or by entering the command logout.
Install Windows Subsystem Linux 2 (WSL2)
Installation
Prerequisites
You must be running Windows 10 version 2004 and higher (Build 19041 and higher) or Windows 11. Check for updates.
Install WSL command
You can now install everything you need to run WSL with a single command. Open PowerShell or Windows Command Prompt in administrator mode by right-clicking and selecting "Run as administrator", enter the following command
wsl --install -d Ubuntu-20.04
After finish running this command, you need to restart your machine.
Set up your Linux username and password
Once the computer is restarted, the Ubuntu window will automatically pop up, prompting for a User Nameand Password for your Linux distribution.

If you got stuck on the message "Installing... this may take a few minutes" for over 10 minutes, just press Ctrl + C. Then you should be prompted for a username.
When setting the username and password:
- It is recommended to use you Rose-ID username as the username. The password can be anything that does not need to be consistent with your Windows password.
- Please note that whilst entering the Password, nothing will appear on screen. This is called blind typing. You won't see what you are typing, this is completely normal.
- Once you create a User Name and Password, the account will be your default user for the distribution and automatically sign-in on launch.
Verify your installation
After completing the installation by following the instructions, you should have Ubuntu (Linux distro) installed on WSL2. To verify, you can run the following command in Windows PowerShell:
wsl --update
Then,
wsl --set-default-version 2
After that,
wsl -l -v
Note that the
-lis dash lower-case L, NOT dash one.
The output should be something like
NAME            STATE       VERSION
*Ubuntu-20.04    Stopped     2
The
STATEmay be different. But theNAMEandVERSIONshould match exactly.
Sometimes the Ubuntu-20.04 is shown as Ubuntu. They are equivalent.
Set up Windows Terminal
Install Windows Terminal HERE.
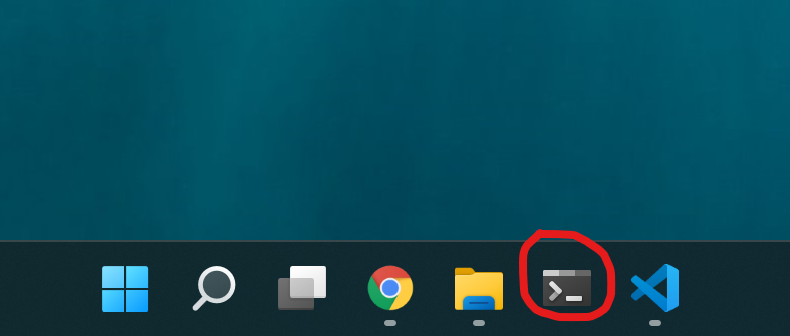
After finish installation, bookmark/pin this app on the taskbar (because you will need to use this app a lot).
File storage
To open your folder/files under your Linux OS. Open the Windows File Explorer and type the path below
\\wsl$
Alternatively, you can look for a Linux icon (penguin) in the side bar of the File Explorer.
From there, you can find Ubuntu-20.04 or Ubuntu. Your home folder will be /home/<user>
You will need to use this path in the future. So it is highly recommended bookmarking this folder.
Verification
If you successfully all steps above, you should be able to 1) open Windows Terminal and 2) launch Linux in WSL2 as shown below.
Launch Windows Terminal and find Linux option
Open your Windows Terminal. Ideally, you want to pin this app to the taskbar as we will frequently use it in this class. For example, my taskbar looks like this

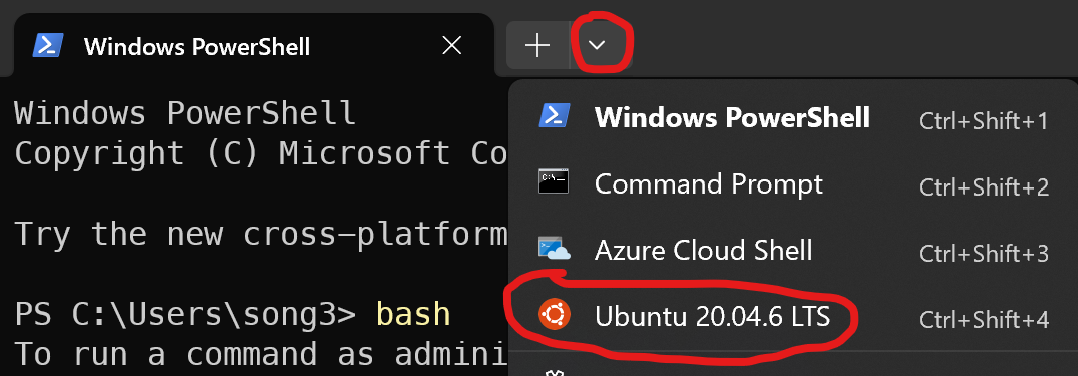
When open Windows Terminal, by default, it will open the PowerShell, which is not the thing we need. Instead, you want to find the "v" icon (drop down menu) to open Ubuntu in a new tab, as shown below.

Launch Linux (in WSL2)
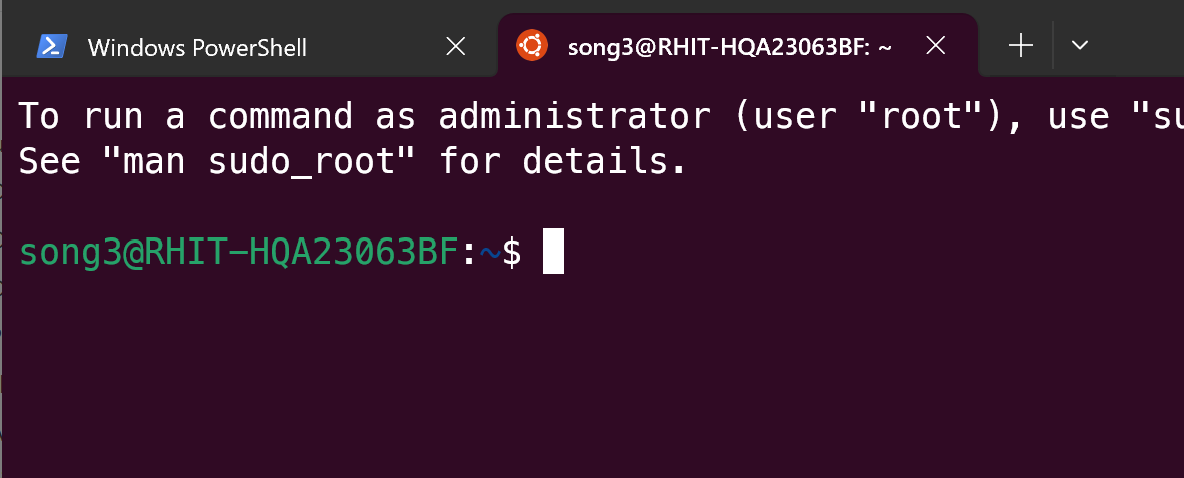
Once selecting the "Ubuntu-20.04" (or "Ubuntu"), you can launch the Ubuntu Linux virtual machine and go to the command line environment, i.e., shell. The command line prompt will be like this:

Your username will be different. And the hostname is
the device name generated by WSL2, which can vary based on your machine. The
part after the $ sign is the input space where you can type in command lines.
You're Ready
If you are able to successfully launch Linux in WSL2, you are all set for the prelab. When you come to lab, you'll be ready to get to work!