Connecting and Executing SQL with SQL*Plus Worksheet
Requirements
- Oracle 9i client with SQL*Plus Worksheet option
Procedure
- Open Net Manager.
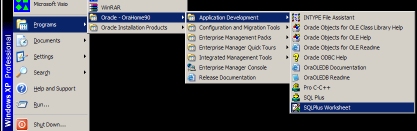
- Open the Start Menu
- Open "Programs"
- Open "Oracle - OraHome90
- Open "Application Development"
- Click on "SQLPlus Worksheet"
- Login to the database
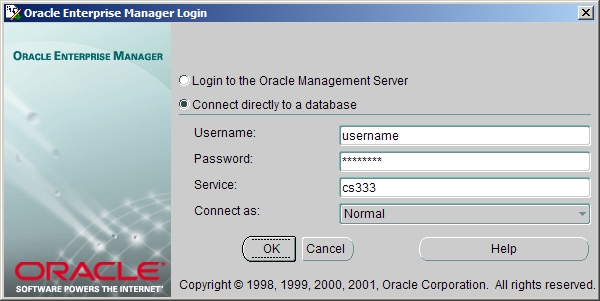
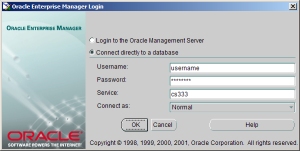
- The login dialog box will appear.
- Choose "Connect directly to a database".
- Enter your username and password.
- Enter the service name you chose during installation into the box labelled "Service".
- The installation guide used "cs333".
- Click "OK".
- SQL*Plus Worksheet login
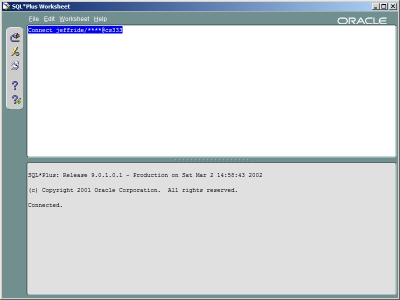
- The SQL*Plus Worksheet window will appear.
- The top half of the window is SQL input to be executed
- The bottom half is the output.
- Initially you will see the SQL command to connect
- your password is replaced by "****"
- If your login was successful, you will see "Connected." in the bottom frame.
- If your login was unsuccessful, you will see an error.
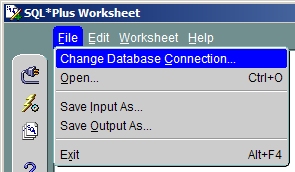
- Changing your connection
- If your login was unsuccessful, or you would like to connect as a different user, you can change your connection without closing SQL*Plus Worksheet.
- Open the File menu.
- Click "Change Database Connection...".
- The login dialog box will appear again, and you can repeat the login procedure.
- Executing SQL Statements
- Enter SQL into the top half of the window, or open an SQL file.
- To open a file, open the File menu and choose "Open".
- Click the 2nd toolbar button
 to execute the SQL statements.

Click here to return to the list of documentation.